DIY Hamster Toys: Easy Projects to Keep Your Little Friend Entertained
Welcome to the wonderful world of hamster care! As a responsible pet owner, it’s crucial to ensure that your little friend remains both mentally and physically stimulated. Just like humans, hamsters need activities to keep their minds sharp and their bodies healthy. Without adequate stimulation, they can become bored or stressed, leading to behavioral issues or even health problems. Creating DIY toys is not only cost-effective but also allows you to customize the experience according to your hamster’s specific needs.
Materials You’ll Need
Fortunately, most of the materials required for these DIY hamster toys can be found around your home. Here’s a list of items you might already have:
- Cardboard tubes (from paper towels or toilet paper)
- Empty plastic bottles
- Cotton balls
- Paper bags
- Foam or fabric scraps
- Pencil shavings
- Non-toxic glue
- Scissors (for adult use only)
These materials are safe, affordable, and perfect for creating a variety of stimulating toys. Let’s dive into some fun projects!
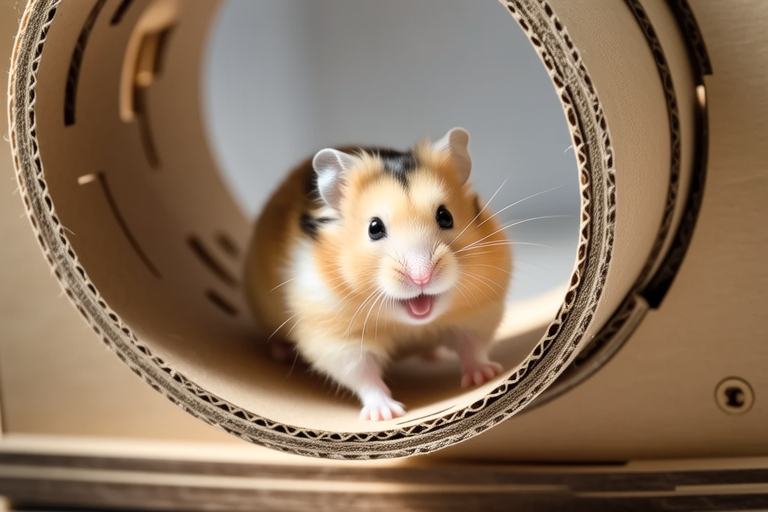
Project 1: Cardboard Tunnel System
This project is ideal for hamsters of all ages and sizes. It provides a great way for them to explore and exercise.
- Collect Materials: Gather several cardboard tubes, such as from paper towels or toilet paper rolls.
- Prepare Tubes: Use non-toxic glue to connect the ends of the tubes, creating a continuous tunnel system. Ensure the connections are sturdy but not too tight, allowing your hamster to move freely.
- Variations: For younger or smaller hamsters, create shorter tunnels with wider openings. For older or larger hamsters, add more twists and turns to increase complexity.
- Safety Tip: Always check the tunnel system for any sharp edges or points that could hurt your hamster.
Project 2: Plastic Bottle Ball
This toy offers a fun and interactive experience for your hamster.
- Collect Materials: Find an empty plastic bottle, preferably one with a smooth surface.
- Prepare Bottle: Remove the cap and cut off the bottom of the bottle so that it forms a hollow ball shape.
- Decorate: Use non-toxic paint or markers to decorate the outside of the bottle, making it visually appealing for your hamster.
- Variations: For smaller hamsters, use a smaller bottle to create a more manageable size. For larger hamsters, add small holes for ventilation and to allow for better grip.
- Safety Tip: Ensure there are no sharp edges or corners inside the bottle that could harm your hamster.
Project 3: Cotton Ball Hideouts
Cotton ball hideouts provide a cozy place for your hamster to rest and feel secure.
- Collect Materials: Gather a few cotton balls and some non-toxic glue.
- Prepare Hideouts: Glue several cotton balls together to form a small nest or burrow. Ensure the structure is stable enough to support your hamster’s weight.
- Variations: For younger hamsters, create smaller nests. For older hamsters, build larger structures with multiple entrances.
- Safety Tip: Always supervise your hamster when playing with new toys to ensure they are safe.
Project 4: Paper Bag Fort
This project encourages exploration and play for your hamster.
- Collect Materials: Find a paper bag, preferably one that has not been treated with chemicals.
- Prepare Bag: Flatten the bag and cut out various shapes like triangles, squares, and circles. Fold these pieces to create different structures.
- Assemble: Use non-toxic glue to attach the pieces together, forming a fort-like structure.
- Variations: For smaller hamsters, create simpler structures with fewer pieces. For larger hamsters, add more complex designs with multiple layers.
- Safety Tip: Check for any small parts that could be swallowed by your hamster.
Project 5: Foam or Fabric Scraps
This project provides a soft and comfortable play area for your hamster.
- Collect Materials: Gather foam or fabric scraps of various colors and textures.
- Prepare Scraps: Cut the foam or fabric into different shapes and sizes.
- Arrange: Place the foam or fabric pieces in your hamster’s cage, creating a cozy play area.
- Variations: For younger hamsters, use softer fabrics. For older hamsters, include firmer materials for additional challenge.
- Safety Tip: Make sure all edges are smooth and free from loose threads or small pieces that could be ingested.
Project 6: Pencil Shavings Maze
This project challenges your hamster’s problem-solving skills.
- Collect Materials: Gather pencil shavings and a few small objects like marbles or beads.
- Prepare Maze: Spread the pencil shavings in your hamster’s cage, creating paths and obstacles. Place the small objects at the end of the maze as rewards.
- Variations: For younger hamsters, create simpler mazes with fewer obstacles. For older hamsters, add more complex patterns and multiple pathways.
- Safety Tip: Ensure that the small objects are too large to be swallowed by your hamster.
Introducing New Toys and Rotation
When introducing new toys to your hamster, always do so gradually. Place the toy in the cage and observe your hamster’s reaction. Some hamsters may be curious right away, while others might take time to warm up. Once your hamster seems comfortable, you can start rotating toys regularly to prevent boredom. Aim to change out toys every week or two, ensuring that your hamster always has something new and exciting to explore.
In conclusion, DIY hamster toys are a fantastic way to keep your furry friend entertained and engaged. By following these simple projects and safety tips, you can create a stimulating environment that promotes physical activity and mental well-being. Remember to rotate toys frequently and introduce new ones gradually to keep your hamster happy and healthy. Happy crafting!